
Here is an instruction on how to install Worksnaps Client on Mac computers. This article supersedes articles related to this topic published prior to July 20, 2026.
Before you do installation, determine whether your Mac is using Apple M chip or Intel chip.
Open the Apple menu and select "About This Mac".
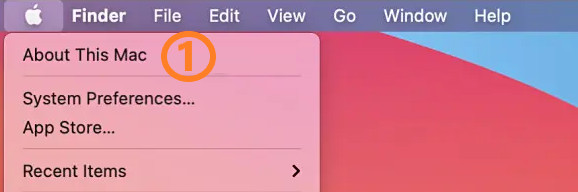
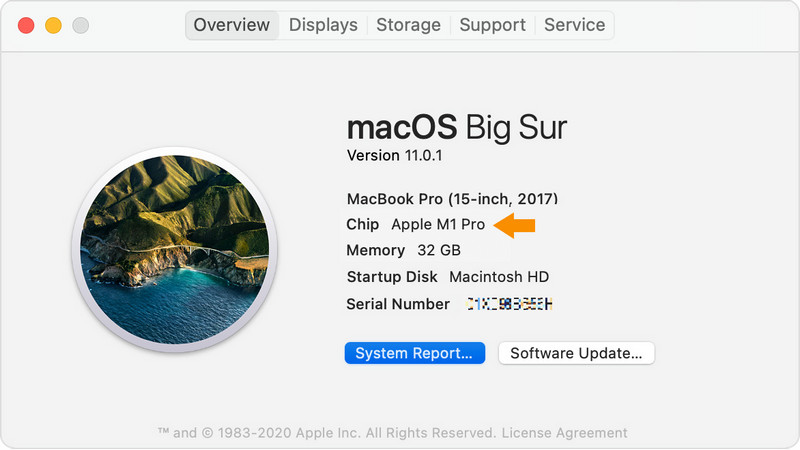
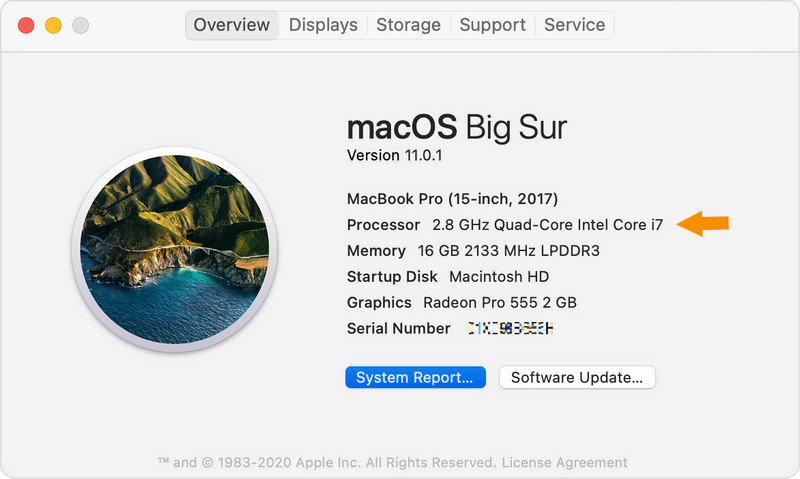
You will see a dialog box where you can look for Processor type. It will show whether your computer is using Intel chip or Apple M chip (also known as ARM chip).
Here is an example of Mac using Apple M chip (i.e., ARM chip):
Here is an example of Mac using Intel chip:
In general, the Mac computers released after 2019 are using Apple M chip (i.e., ARM chip). Those using Intel chip are older models.
1. Download Worksnaps Client
If you are using Apple M chip (i.e., ARM chip), download Worksnaps Client from this link:
https://s3.amazonaws.com/worksnaps-download/WSClient-Mac-aarch64-20260620-j.dmg
If you are using Intel chip , download Worksnaps Client from this link:
https://s3.amazonaws.com/worksnaps-download/WSClient-Mac-x64-20260620-j.dmg
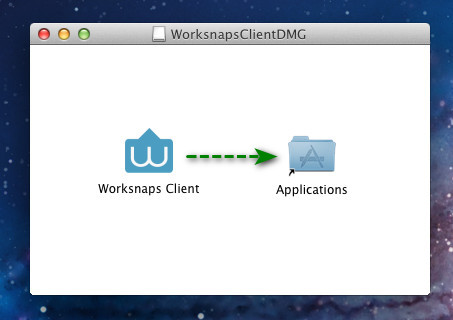
2. Install Worksnaps Client
Install the package onto your computer by dragging Worksnaps Client icon and drop it into Applications folder.
3. Start Worksnaps Client.
In Applications menu, find Worksnaps Client and click to start it.
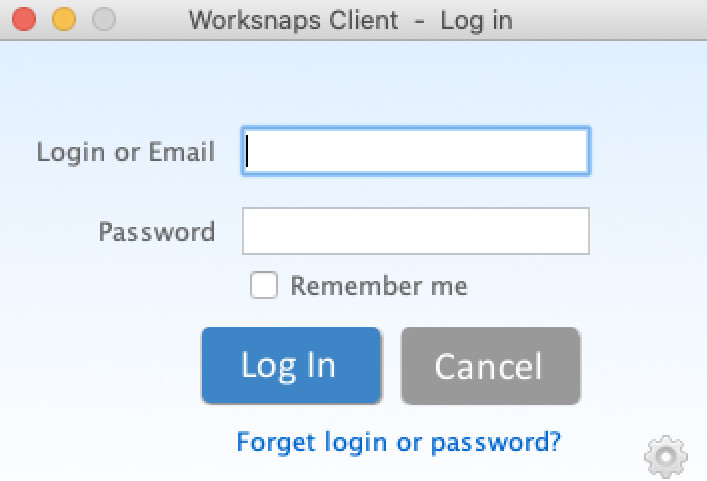
If you see the following Log-In dialog, Worksnaps Cient is started successfully.
4. Turn on Screen Recording, Accessibility and Camera for Worksnaps Client.
IMPORTANT
In order for Worksnaps Client to capture the necessary information, you need to turn on Screen Recording, Accessibility and optionally Camera in "System Preferences".
Here is the instruction on how to make necessary configuration changes.
(link - https://worksnaps.freshdesk.com/support/solutions/articles/4000216858)